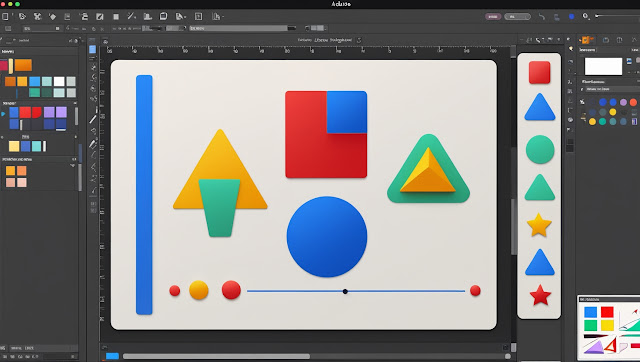
Creating and Manipulating Shapes (Using AI-powered Shape Tools)
Adobe Illustrator is a go-to tool for professional designers, illustrators, and creatives. One of the first skills every beginner should master is creating and manipulating shapes—the building blocks of vector design.
In this chapter, we’ll walk through the basic shape tools, how to customize them, and how AI-powered features can now make shape manipulation faster and smarter.
🟦 1. The Essential Shape Tools in Illustrator
Illustrator provides several basic shape tools right in the toolbar. These include:
-
Rectangle Tool (M)
-
Ellipse Tool (L)
-
Polygon Tool
-
Star Tool
-
Line Segment Tool ()
You can access them by clicking and holding the rectangle tool in the toolbar to reveal the full set.
🛠️ 2. Drawing Shapes the Right Way
-
Click and drag to draw a shape.
-
Hold Shift while dragging to keep the proportions (e.g., draw a perfect square or circle).
-
Use the Properties Panel to adjust width, height, rotation, and position precisely.
📌 TIP: You can double-click a shape tool icon to enter exact values before drawing.
✏️ 3. Customizing Shapes with Direct Selection and Anchor Points
Once a shape is created, you can reshape it using:
-
Direct Selection Tool (A): Select and move anchor points or segments.
-
Corner widgets: Drag to round corners.
-
Convert Anchor Point Tool: Change curved points to straight or vice versa.
💡 Pro Tip: Right-click any anchor point for more editing options!
🤖 4. Using AI-Powered Tools for Smarter Shape Editing
Adobe Sensei (Adobe’s AI engine) is now integrated into Illustrator and helps with:
🧠 Shape Builder Tool (Shift + M)
This lets you merge, subtract, or intersect shapes intuitively.
-
Draw two overlapping shapes.
-
Use the Shape Builder Tool to click and combine areas or hold Alt/Option and click to remove.
✨ Smart Guides & AI Alignment
Smart Guides snap shapes into perfect alignment. With AI-assisted suggestions, Illustrator now predicts alignment points as you drag.
“Align to key object” and auto-spacing indicators make layout much easier, especially in grouped shapes or logos.
🔄 5. Transforming and Arranging Shapes
Master these transformation tools to gain full control:
-
Rotate Tool (R): Rotate shapes precisely.
-
Scale Tool (S): Resize proportionally.
-
Reflect Tool (O): Create symmetrical designs.
-
Arrange (Right-click): Bring shapes forward/backward.
Group (Cmd/Ctrl + G) and Ungroup (Shift + Cmd/Ctrl + G) help manage multiple shapes efficiently.
💡 6. Real-Life Example: Building a Simple Logo
Let’s create a basic logo using only shapes and the Shape Builder tool.
-
Draw a circle and a triangle.
-
Overlap them creatively.
-
Use the Shape Builder tool to combine or subtract parts.
-
Apply colors and align using Smart Guides.
This exercise teaches spatial design, symmetry, and creative exploration with shapes.
✅ 7. Quick Recap: What You’ve Learned
By the end of this chapter, you should be able to:
✅ Use all basic shape tools (rectangle, ellipse, polygon, etc.)
✅ Customize shapes using anchor points and corner widgets
✅ Combine and edit shapes with the Shape Builder Tool
✅ Use Smart Guides and AI features for precision
✅ Create simple compositions and layouts using only shapes
📘 Practice Challenge
Design a modern icon or badge using only 3 basic shapes (e.g., circle, star, rectangle). Use the Shape Builder Tool to combine them creatively. Add color and align with Smart Guides.
Want to go further? Try recreating a famous logo using just shapes!
✍️ Final Thoughts
Creating and manipulating shapes is where Illustrator truly shines. By combining simple tools with AI-powered enhancements, you can work faster, cleaner, and more creatively.
Next up, we’ll dive into color theory and gradients—how to bring your shapes to life with compelling visual depth.


Comments
Post a Comment